
Any DIY expert will tell you that if you have the right tools and materials, a wallpaper removal project is one of the easiest ways to transform a room. It’s also a great way to save money by using existing paint colors instead of buying new ones—and it’s eco-friendly as well.
But before you pick up your first scraper or brush, there are some things you should know about wallpaper removal. In this blog post, we’ll lay out all of those details so that your next project goes smoothly from start to finish:
Gather your materials
Before you start, gather the following materials:
- Paper towels. These will be used to soak up the wallpaper remover and clean up any excess liquid that spills onto your walls or floor.
- Masking tape. Also known as painter’s tape, this thick double-sided tape comes in many different widths and colors. It can be found at your local hardware store or home improvement shop for about $2 per roll of 5 yards (about 90 feet). This type of tape is handy for keeping spray bottles dripping onto the furniture when spraying them on the walls.
- Scissors or utility knives with new blades installed. You’ll need these to cut through adhesive residue left behind by old wallpapers or trim off excess paper towels before tossing them into garbage bags.
Prepare for the project
You’ll also want to make sure that you’re well protected in case something goes wrong. Safety gear like gloves and glasses will keep you from getting cut if sharp pieces of paper get pulled off the wall. If you’re working with a friend, make sure to have plenty of space between the two of you so that neither person bumps into the other while cutting or lifting up the wallpaper.
If the room is not well ventilated, wear a mask to protect yourself from airborne particles that could irritate your eyes or respiratory system. You can use fans and open windows for ventilation; if possible, do this before removing any wallpaper in order to avoid inhaling harmful fumes from previous layers of glue used during installation (such as formaldehyde).
Finally, be prepared by having an empty bucket on hand to clean up spills during removal work.
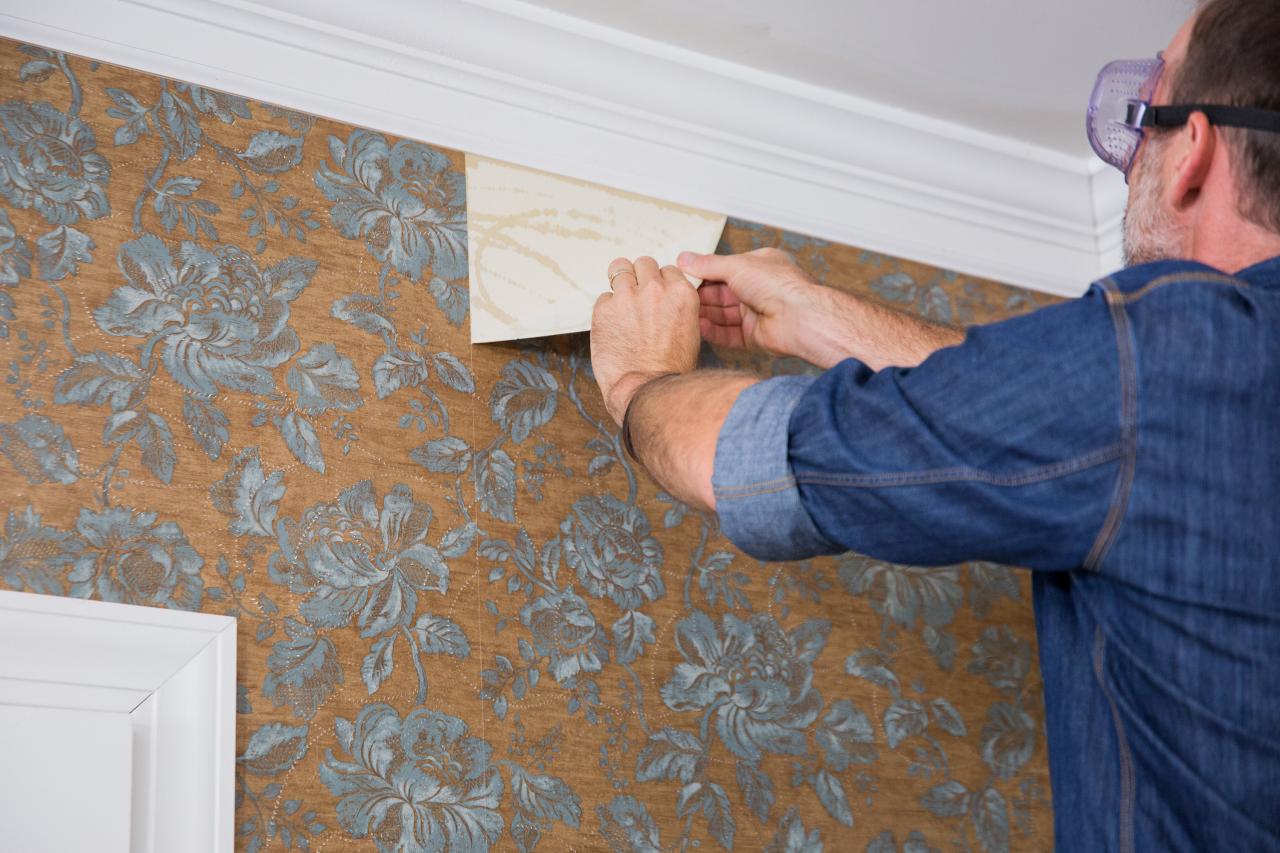
Remove the top layer of wallpaper
Once you have decided on the type of wallpaper removal process, it is time to remove the top layer of wallpaper. Before beginning this step, ensure that you wear gloves and eye protection and work in a well-ventilated area. If you are planning on removing your wallpaper by hand with a drywall knife or scraper, take note that most modern wallpapers are made with vinyl paper and will come off easily when removed from their backing. However, if there is an adhesive layer over the vinyl paper (most older wallpapers were made this way), this method may not work for your situation.
Remove the backing paper
The first step in the removal process is to roll back the wallpaper. You can do this using a wallpaper removal tool, which looks like a metal roller with a handle on it. Rollers are available at most hardware stores for about $10 and up, depending on size and quality.
You can also use a steamer to remove wallpaper by steaming from one side of the wall at a time, then pushing down with your gloved hand on that side while you pull off strips of paper from the other side with your bare hands. Steaming will loosen adhesive in some cases where scraping alone would not be enough because it softens glue faster than heat alone does. A steam cleaner works well for this purpose because its heating element is large enough to provide continuous heat (most portable handheld steamers won’t work).
Comments are closed.